此文章所用的全部设备均使用虚拟机进行安装部署调试
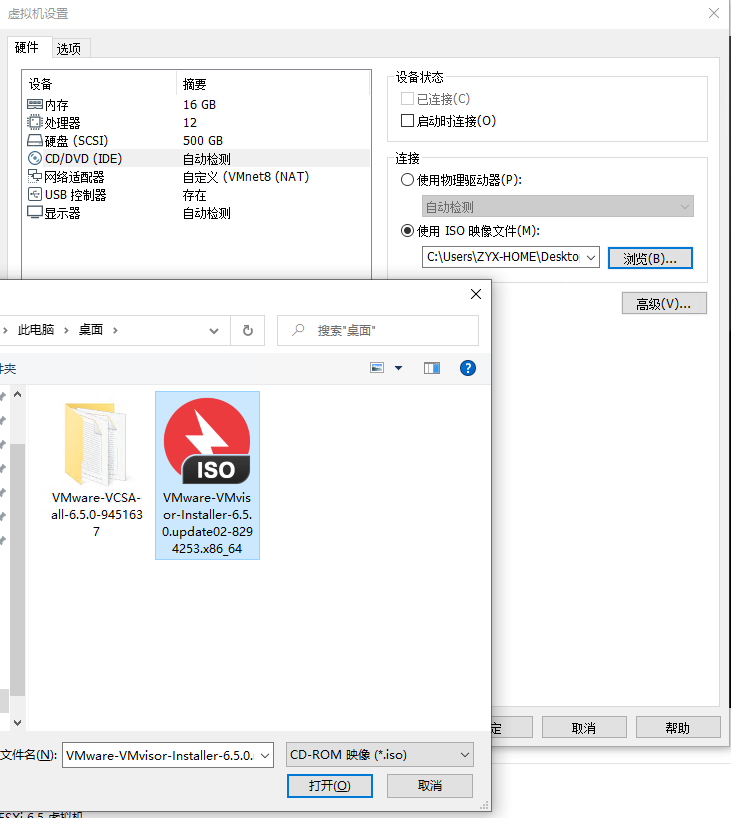
虚拟机安装ESXi
补于2020.9.10
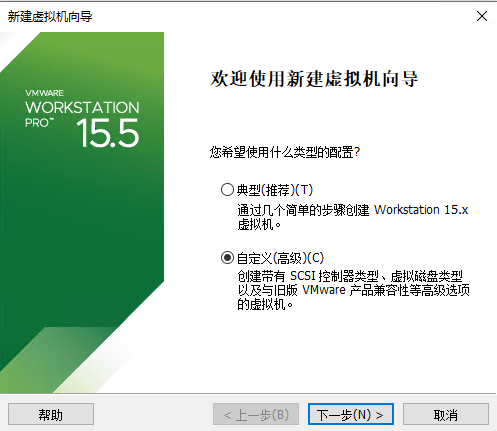
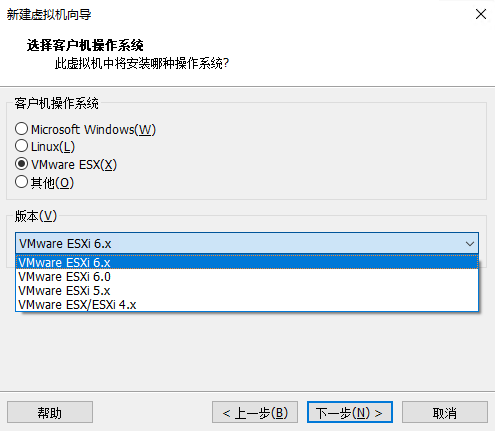
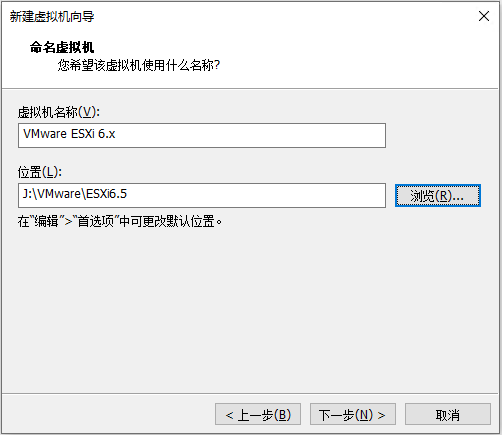
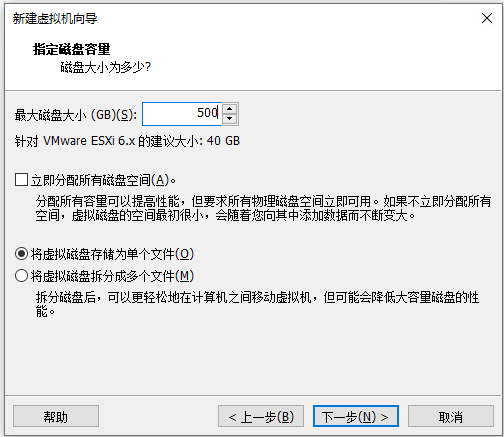
创建虚拟机
处理器和内存看自己电脑配置进行选择,运行内存尽量大于10GB,安装vCenter需要
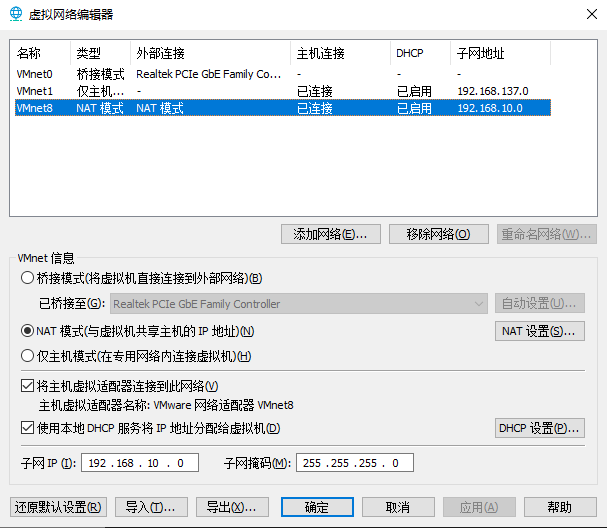
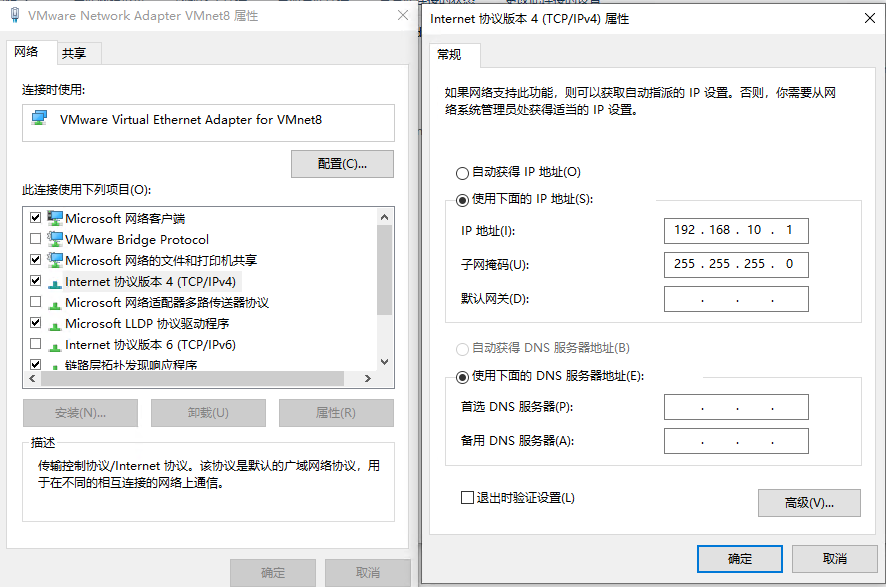
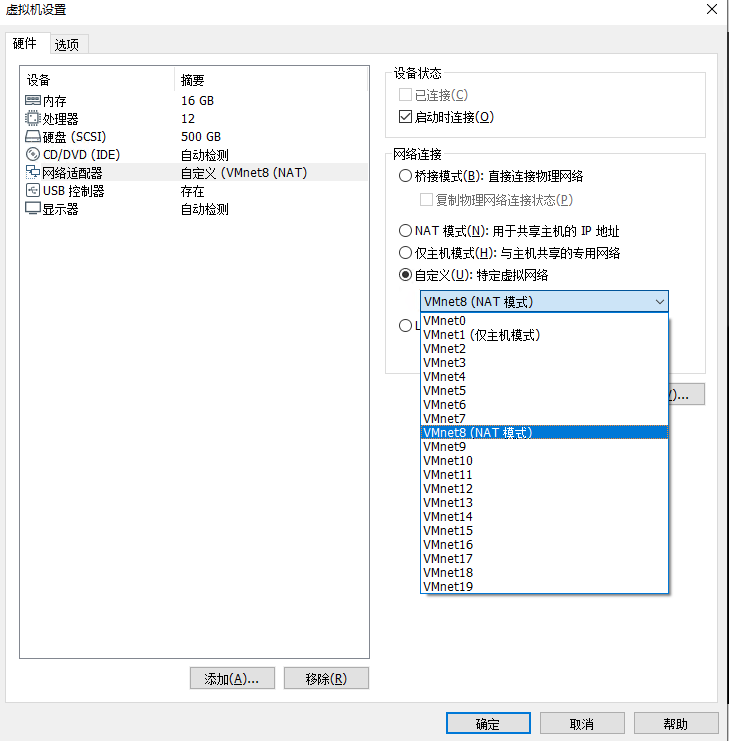
连接虚拟机nat网络
运行虚拟机
点击运行虚拟机
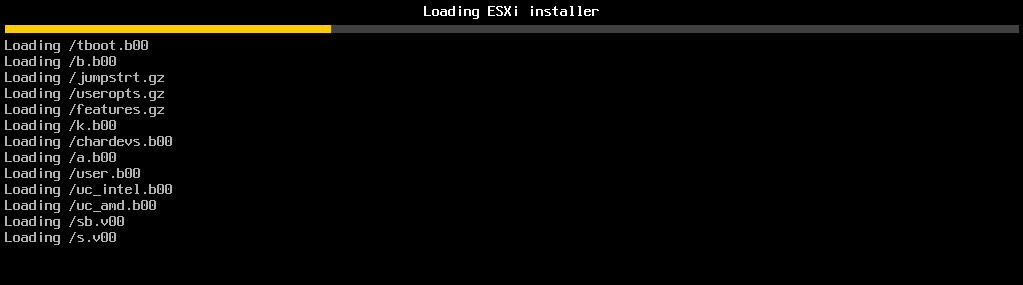
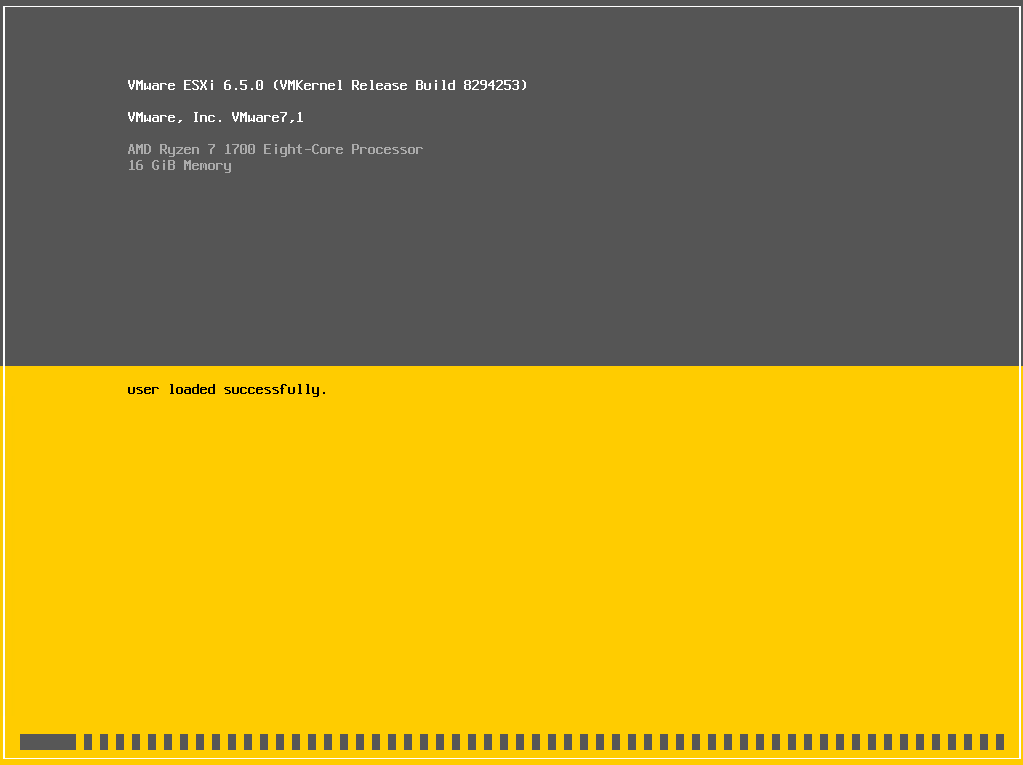
等待完成
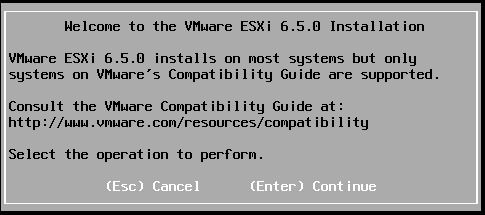
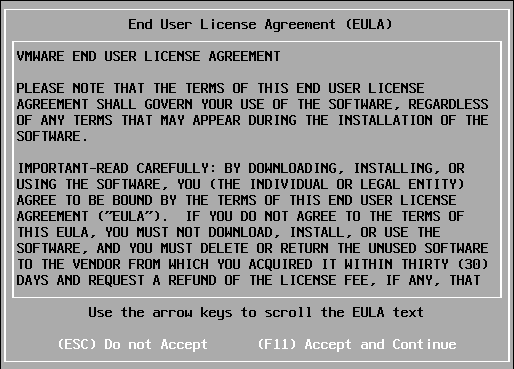
按F11同意
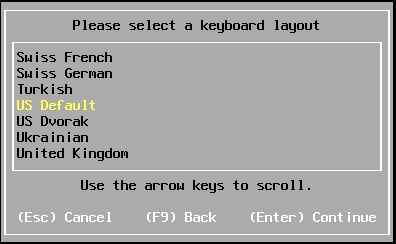
按Enter继续使用US键盘布局
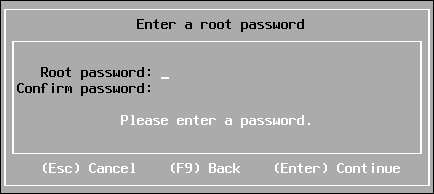
创建root passwork输入两遍
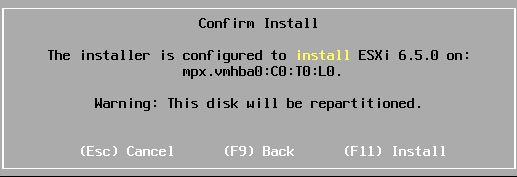
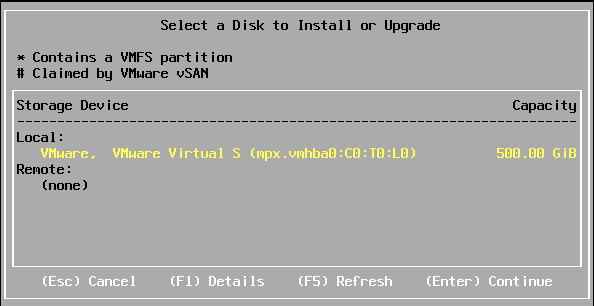
按F11进行安装

等待.......
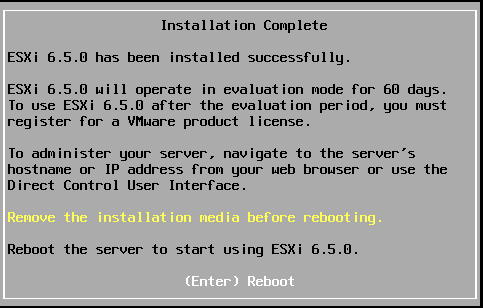
按Enter重启
安装完成
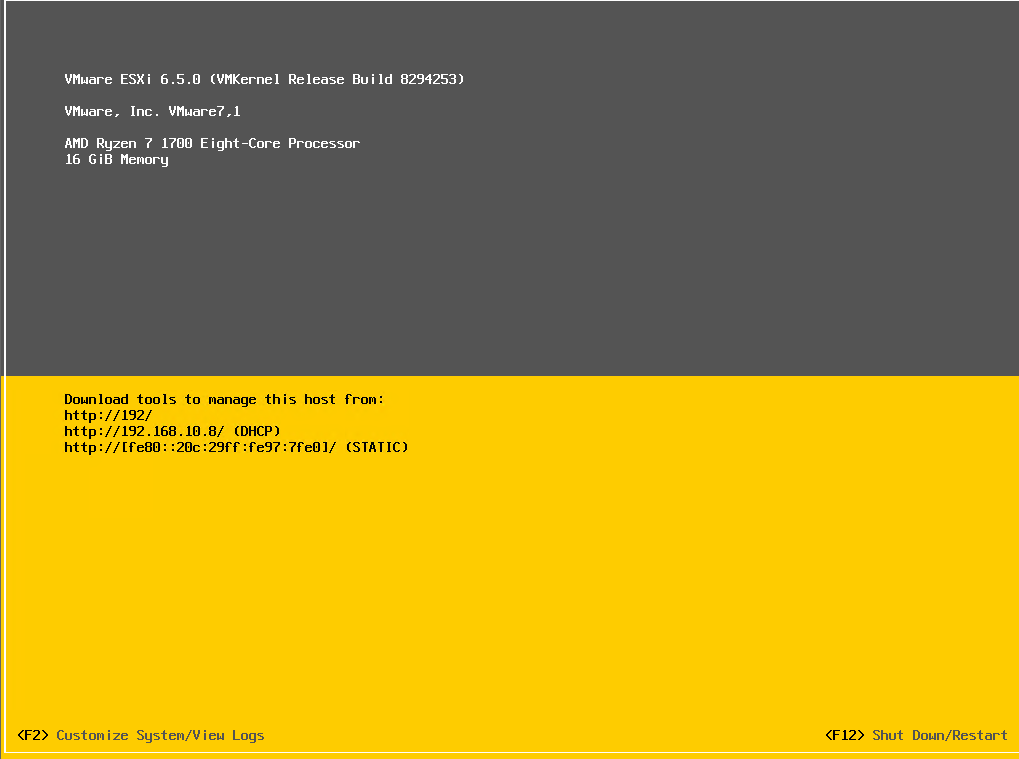
ESXi设置
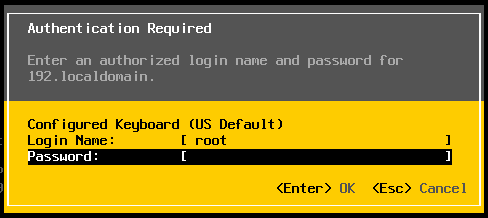
按F2进行设置,需要进行登录
帐号:root
密码是刚才创建的
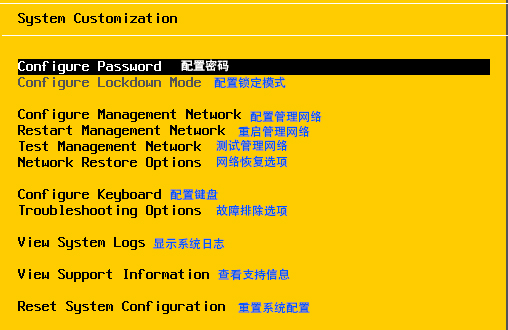
选择 Configure Management Network
选择 IPv4 Configuration
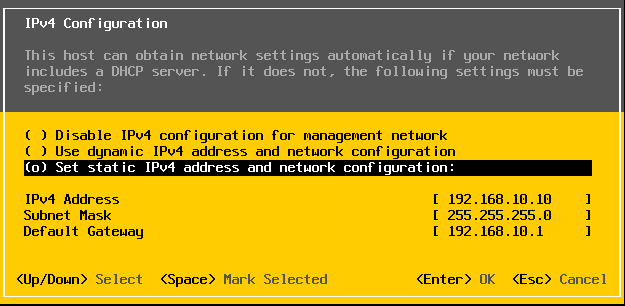
使用空格选择
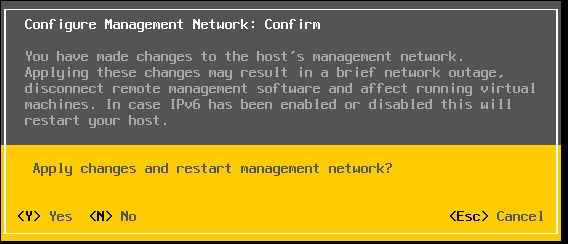
按y更改设置
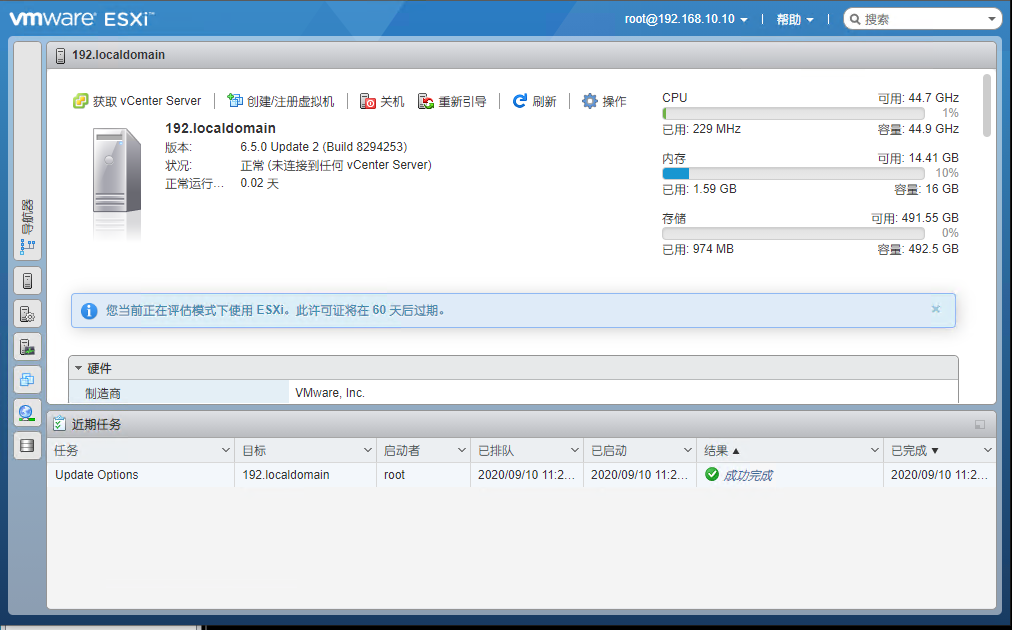
ESXI 进入Web
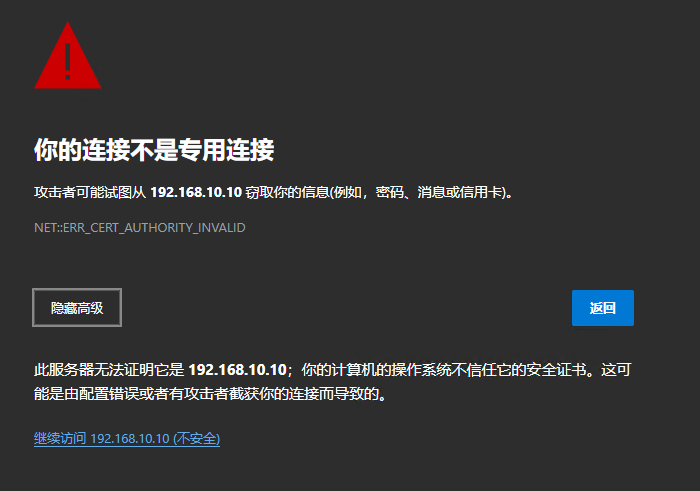
点击继续访问
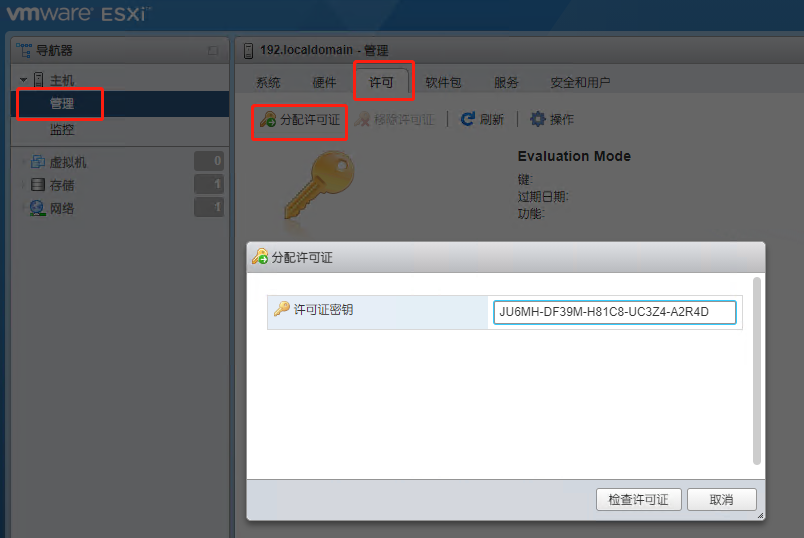
JU6MH-DF39M-H81C8-UC3Z4-A2R4D
补充:
关闭防火墙:
esxcli network firewall set --enabled false
ESXi 7.0 硬盘占用过大解决方法:
第一次启动时猛按shift+字母o
会出现cdromboot runweasel 输入autoPartitionOSDataSize=8192
cdromboot runweasel autoPartitionOSDataSize=8192 回车
解决
在虚拟机ESXi中部署vCenter
有种套娃的感觉QAQ
下载VMware-VCSA-all-6.5.0 解压后:
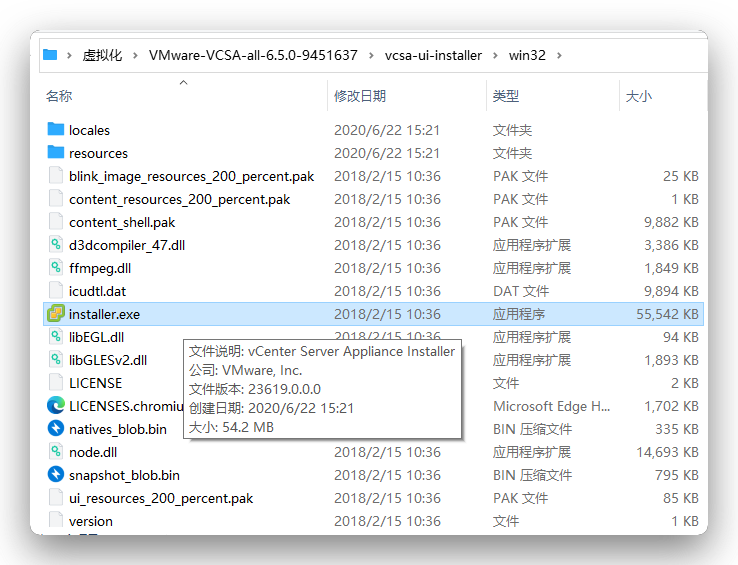
安装->下一步->我接受->嵌入式
需要填你的ESXi的信息
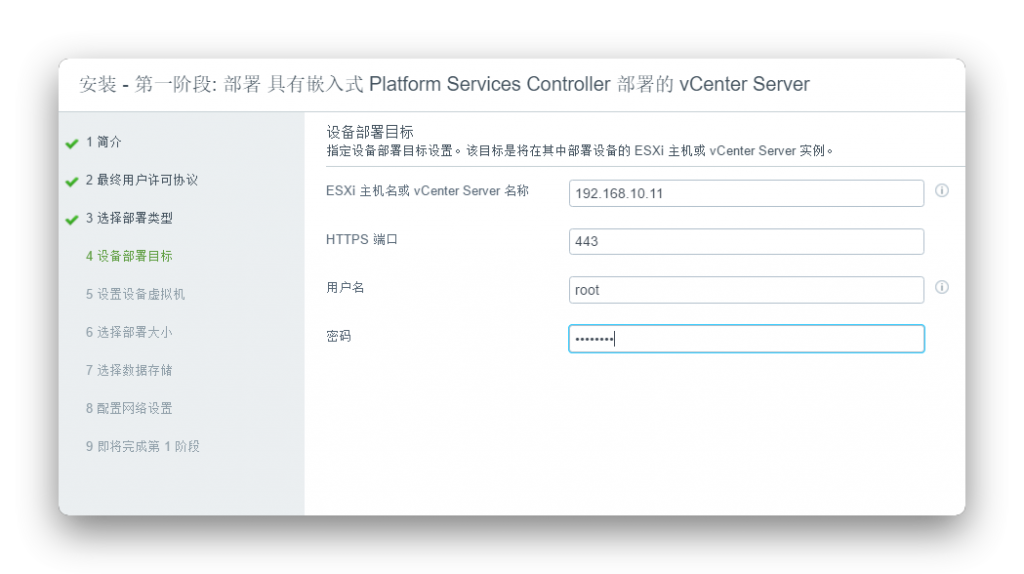
若弹出证书警告点 '是'
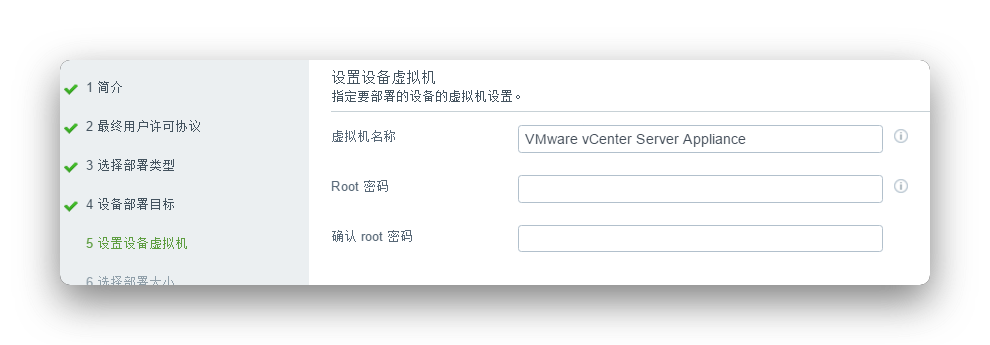
设置虚拟机root密码,需要设置的比较复杂
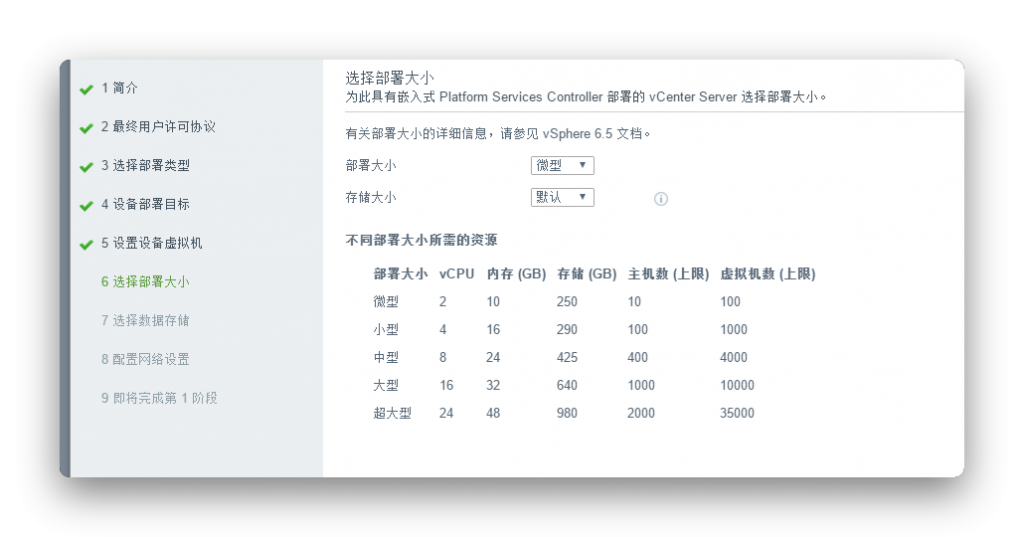
设置部署大小,根据自己需要设置,因为本次是实验,所以使用微型
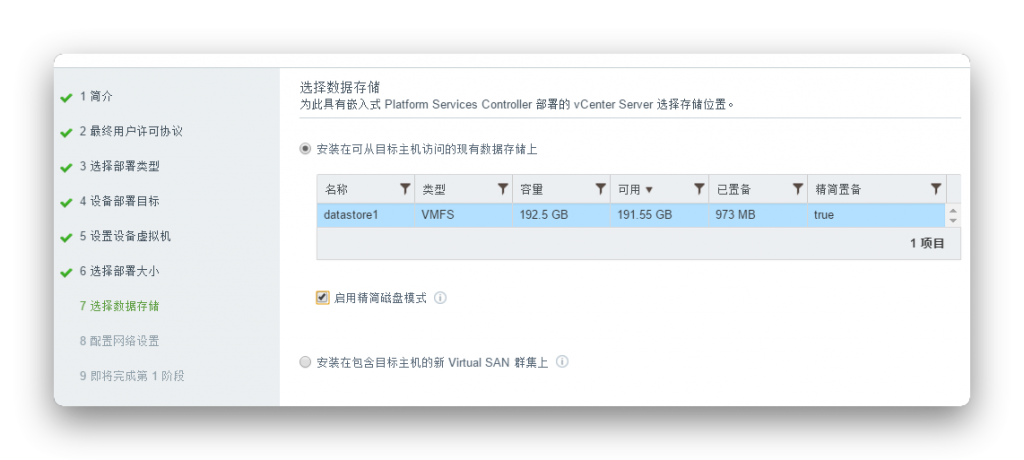
选择数据存储(若不点精简模式 需要保证EXSi中有300g以上空间)
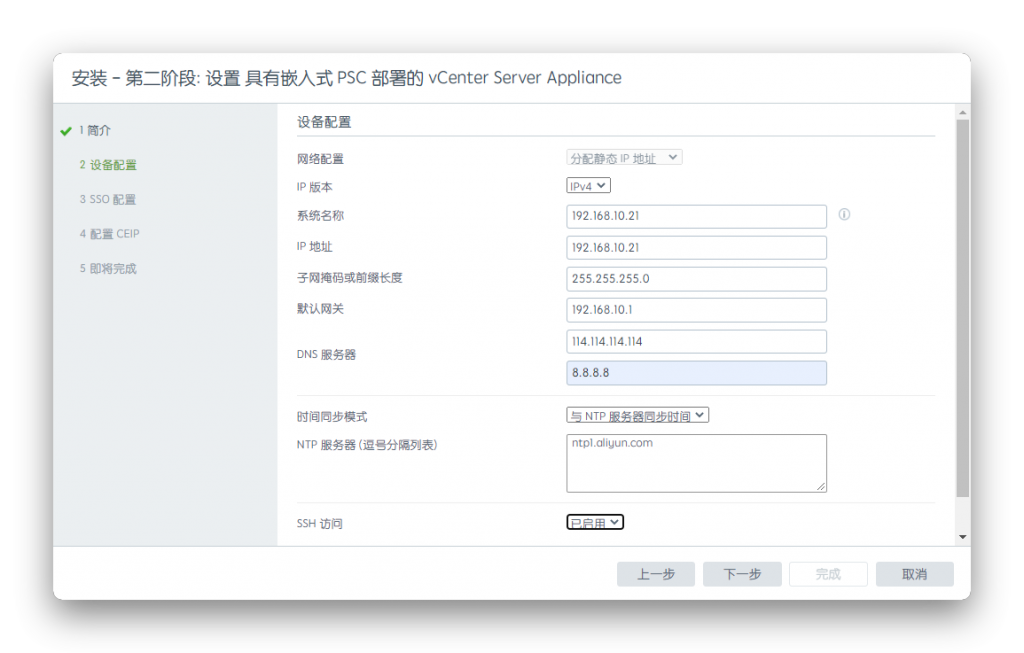
配置你的vCenter(系统名称正常是要填域名的,本次填ip,填ip的话只填ip地址就可以,不需要填系统名称)
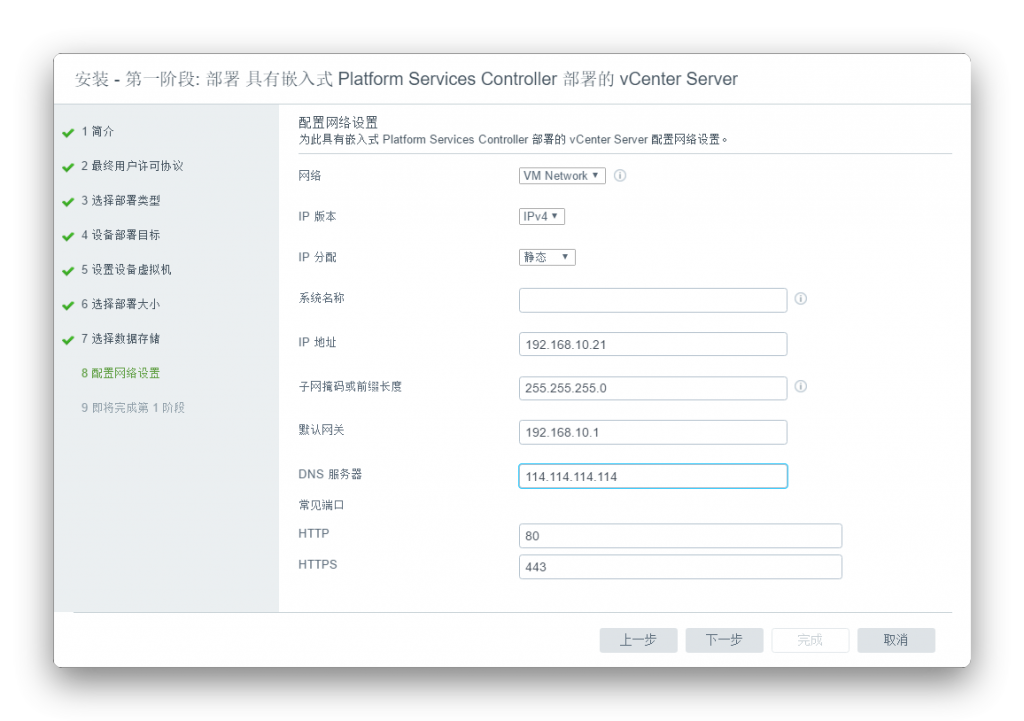
下一步->完成
这时候ESXi中就会出现vCenter了
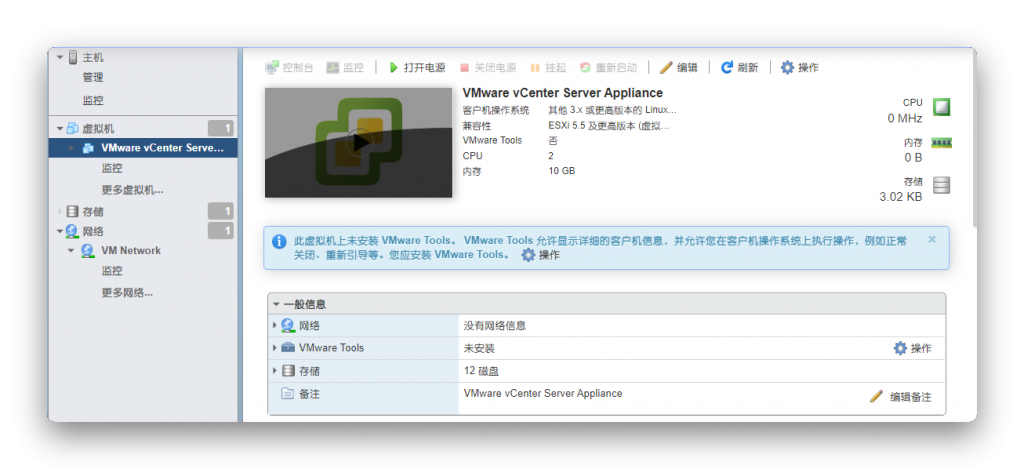
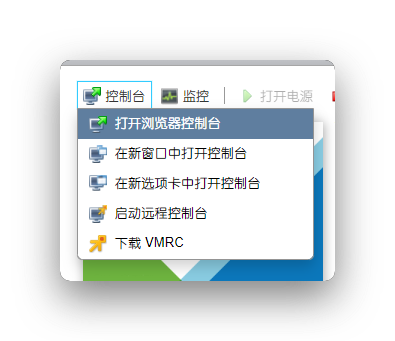
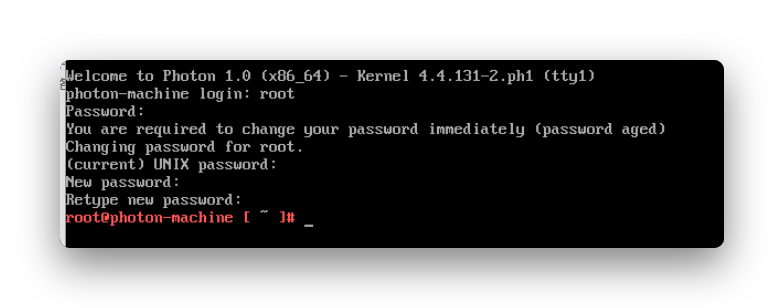
等到执行到80%的时候打开控制台
默认账号密码是root,vmware 先使用这个进入,进入后按f2修改密码
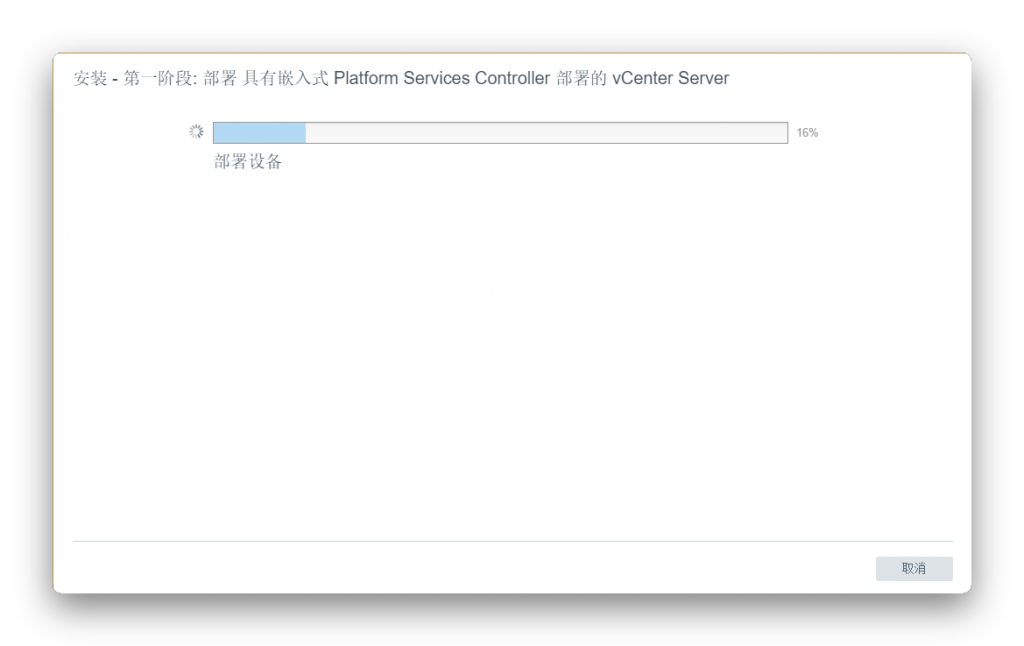
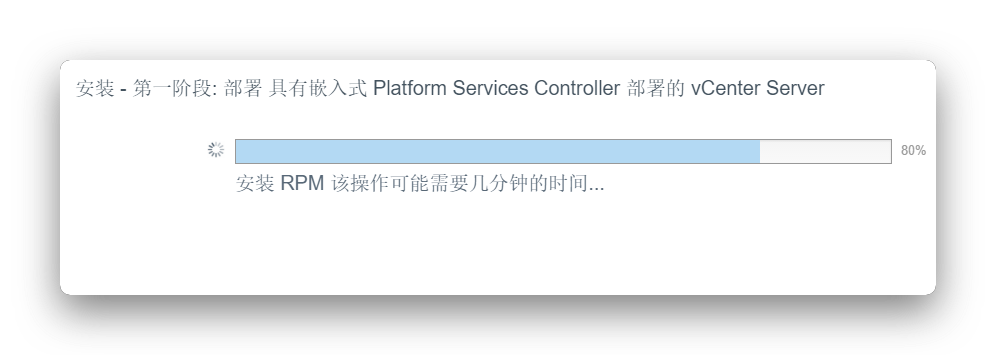
这时候就等着到100% (时间可能会比较长,耐心等待)
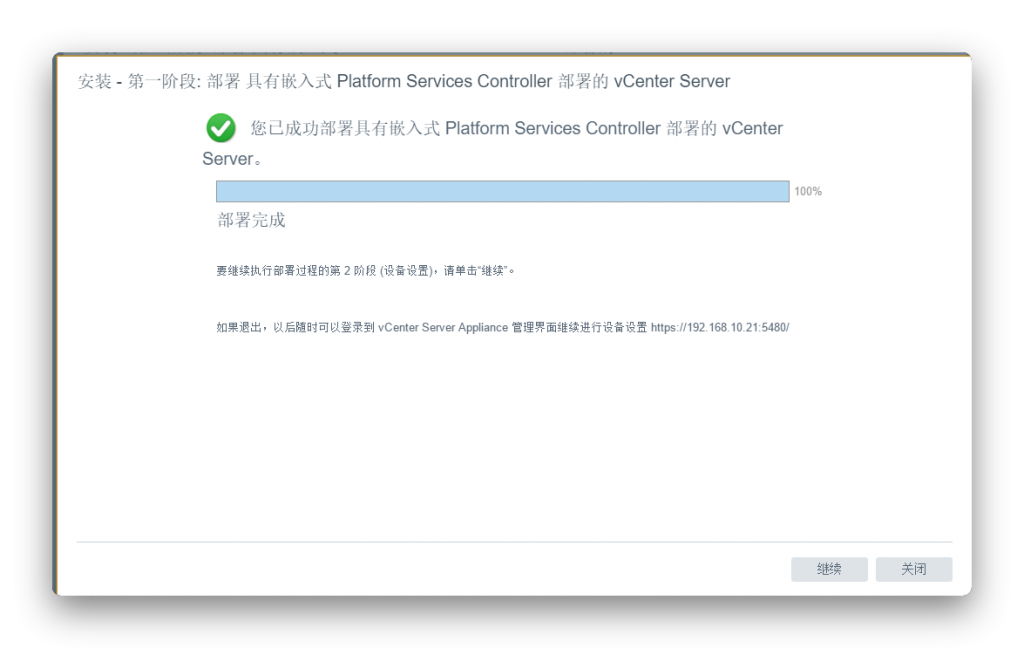
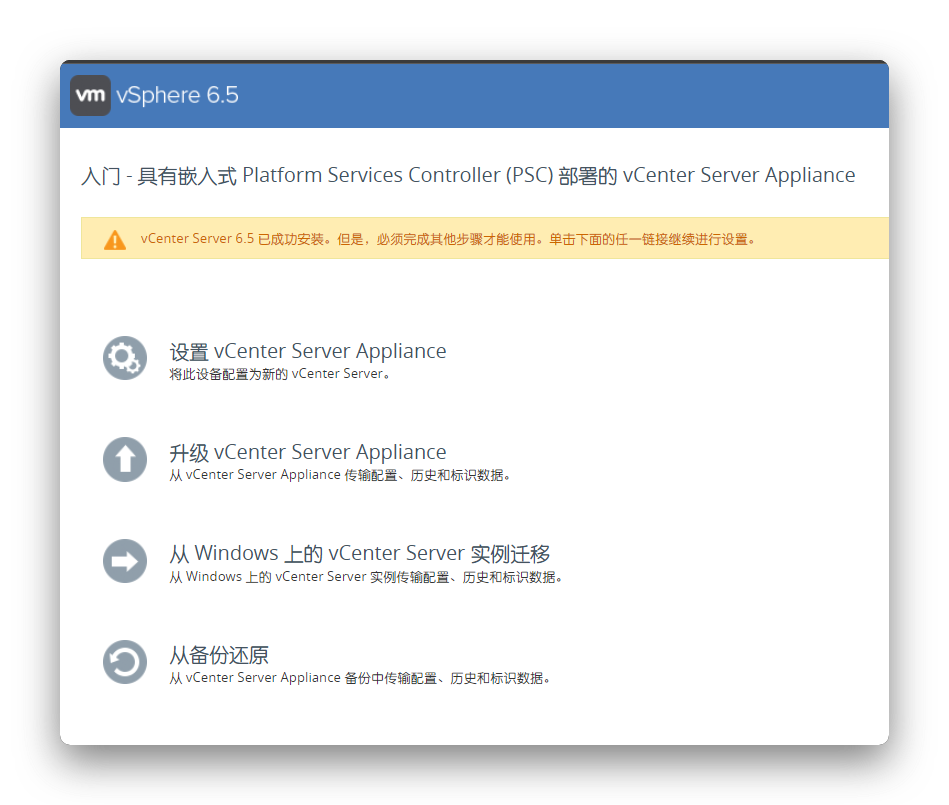
进入网址: https://[你设置的ip]:5480
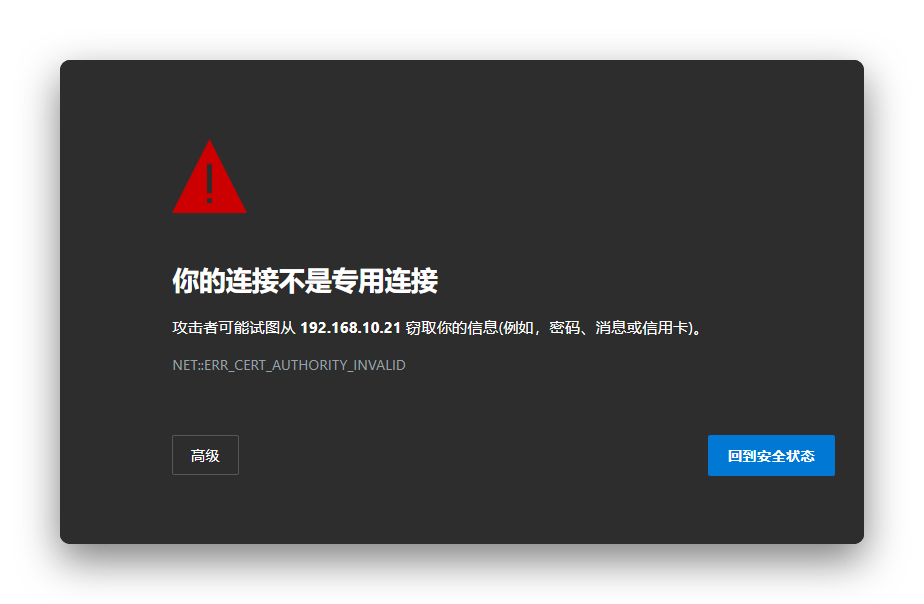
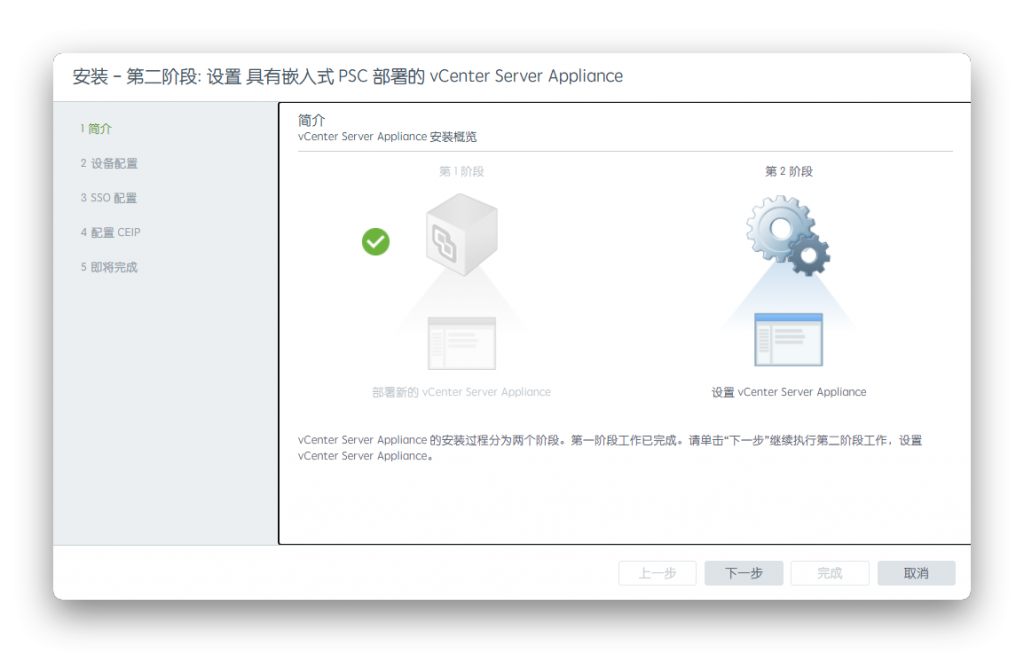
设置 vCenter Server Appliance
输入密码后进入
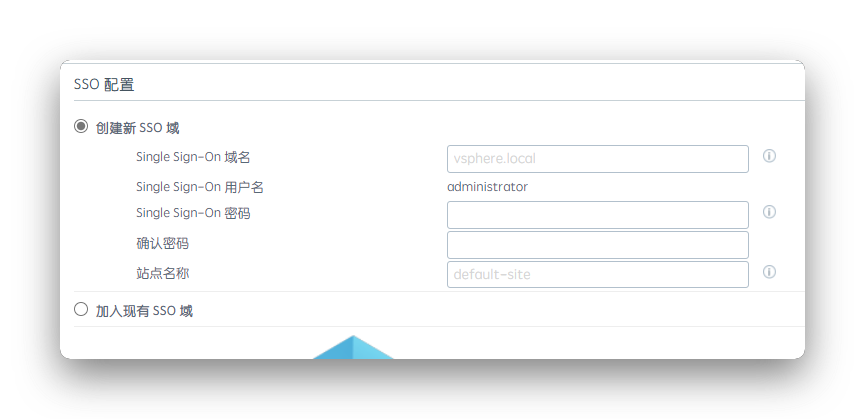
oss很迷, 不确定(域名默认,站点名称自定义)
然后192.168.10.21:5480这个是进入 vCenter Server Appliance
直接192.168.10.21这个是进入vSphare WEB Client
账号填aministrator@[oss设置的域名] 密码之前设置的oss密码

至此,vCenter安装完成